Sometimes, professional help might take time to arrive. In those few minutes, you or someone nearby may need to act. A bleed control kit gives you the tools to control severe bleeding and keep the person alive until help arrives.
Because of this, many public places like schools, malls, and airports are now keeping bleed control kits in visible, easy-to-access spots.
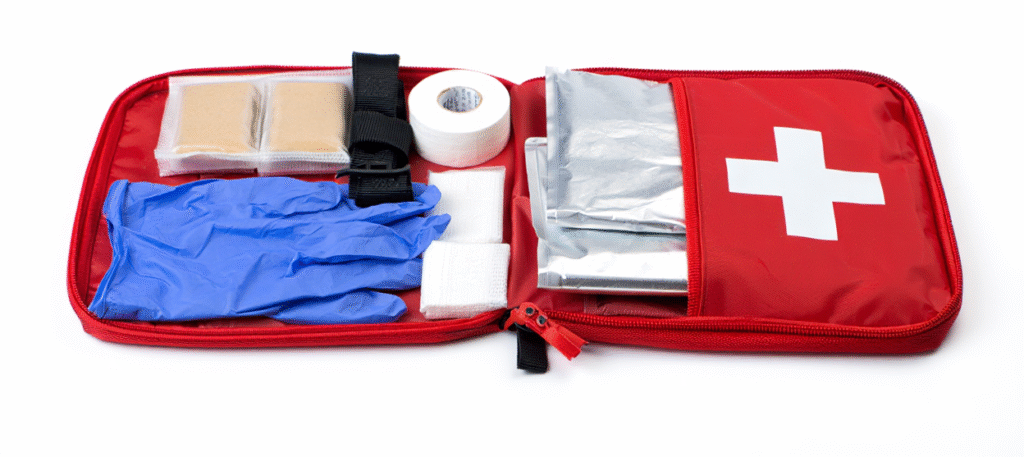
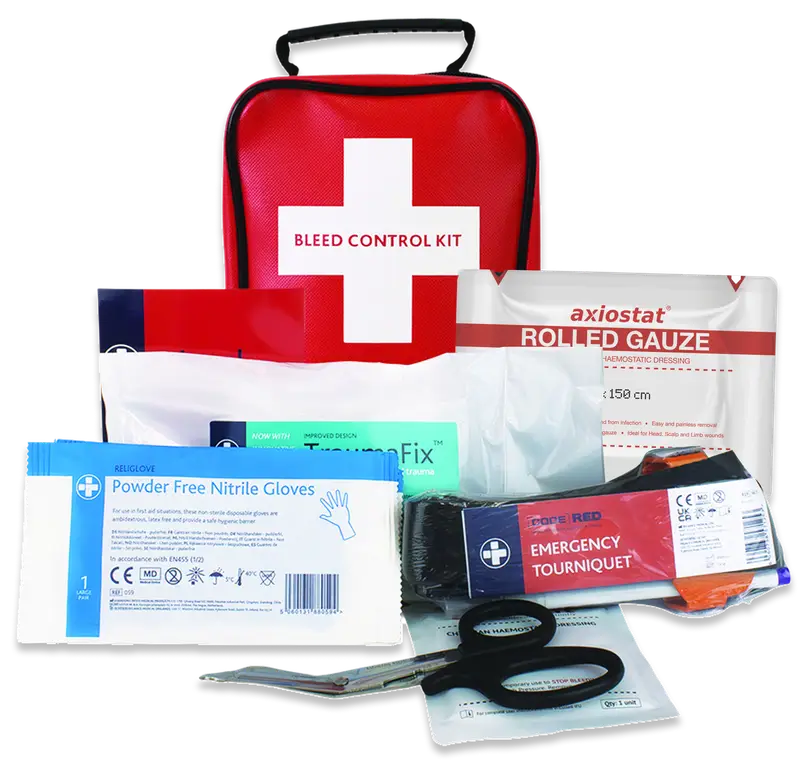
Let’s go step by step and look at what’s in a bleed control kit. Most kits come with basic items that help stop bleeding fast. Some may have extras, depending on the type of place or user.
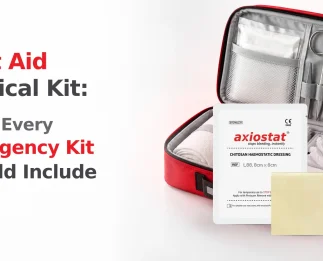
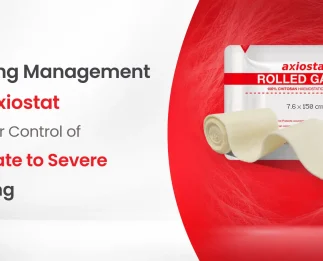
This is one of the most important things inside. It’s not just regular gauze. It’s made with a special material called chitosan that helps your blood clot quickly.
Axiostat Hemostatic Gauze is trusted by doctors, paramedics, and even the military. It works well on deep wounds and doesn’t need your body to start clotting—it helps the process happen faster.
This tool is used when the bleeding is too heavy and from an arm or leg. You place it above the wound and tighten it to stop the blood flow. It’s especially helpful for serious injuries.
Gloves protect both you and the person you’re helping. You don’t want to touch blood with bare hands. Most kits include strong nitrile gloves.
Some advanced kits may also have tools to keep a person’s airway open. These are more common in kits used by trained professionals.
Emergencies are stressful. A simple step-by-step card inside the kit can help guide you, even if you’re nervous.
Everything is packed inside a durable, compact case that makes transportation and handling convenient even in difficult conditions, such as in industrial facilities, in cars, or outdoors.
Having learned about the components of a bleed control kit, now let’s learn how to properly use the components of a bleed control kit. Here is the step-by-step process consisting of 6 steps.
Step 1: Safety First
Before doing anything else, survey the environment and ensure your safety. Do not expose yourself to potential dangers. Use gloves before contacting any blood.
Step 2: Locate the Source of Bleeding
Search for any spurting, pooling blood, and blood-stained clothing. It is indicative of the bleeding site.
Step 3: Use Axiostat Gauze
Unwrap the Axiostat Hemostatic Gauze and pack it into the wound deeply. Put pressure on it for at least 3 minutes.
Step 4: Use Tourniquet (if required)
If the bleeding comes from an extremity and doesn’t stop, apply a tourniquet a few inches above the wound and compress it tightly till the bleeding stops. Don’t forget to note the time of application.
Step 5: Watch the Person Closely
Look for signs of shock like pale skin, weak pulse, or fast breathing. Keep the person calm and warm. Wait with them until help arrives.
A bleed control kit is only helpful if it’s nearby when something happens. Here are the best places to keep one:
Not all gauze works the same. Axiostat Hemostatic Gauze is known for a few clear advantages:
Kits that include Axiostat are considered high-quality and more reliable in serious emergencies.
Numerous cities around the United States are recommending that their teachers, workplace employees, security personnel, and citizens undertake a bleed control class that will enable them to identify serious bleeding and deal with it while waiting for medical aid. A little bit of bleed control done earlier than it should can significantly decrease blood loss and ensure that recovery takes place. It is important that, in case a bleed control kit is present, people can easily react to emergencies due to the knowledge they have regarding the usage of such kits.
Bleed control kit components and their application can make you a lifesaver in times of emergency. Such kits are useful not only for professionals but also for anyone else who wants to be prepared to help. Preparation time has arrived. Do not wait for emergencies to find out about the importance of bleed control kits and keep one of them in your car, house or place where you work. While choosing one, remember to opt for Axiostat Hemostatic Gauze.
1. What’s in a bleed control kit?
A typical bleed control kit includes:
2. How to use bleed control kit on a severe wound?
Use hemostatic gauze to pack the wound, apply firm pressure for 3+ minutes, then cover with a trauma dressing. For limb injuries with massive bleeding, apply a tourniquet above the wound.
3. Who should have access to a bleed control kit?
Everyone should know where bleed control kits are located:
4. Can I use a bleed control kit without medical training?
Yes! Bleed control kits are designed for use by both trained professionals and the general public. Many kits include clear, easy-to-follow instructions for use.

Axiostat® Rolled Gauze – 7.6cm x 150cm
Religlove – Nitrile Examination Gloves – Large – Pair
Universal shears large 7.6″
TraumaFix Dressing Sterile Including Pressure Pad
CODE RED Emergency Tourniquet
Chest Seal
Bleed Control Guidance Leaflet
1
2
1
1
1
1
1
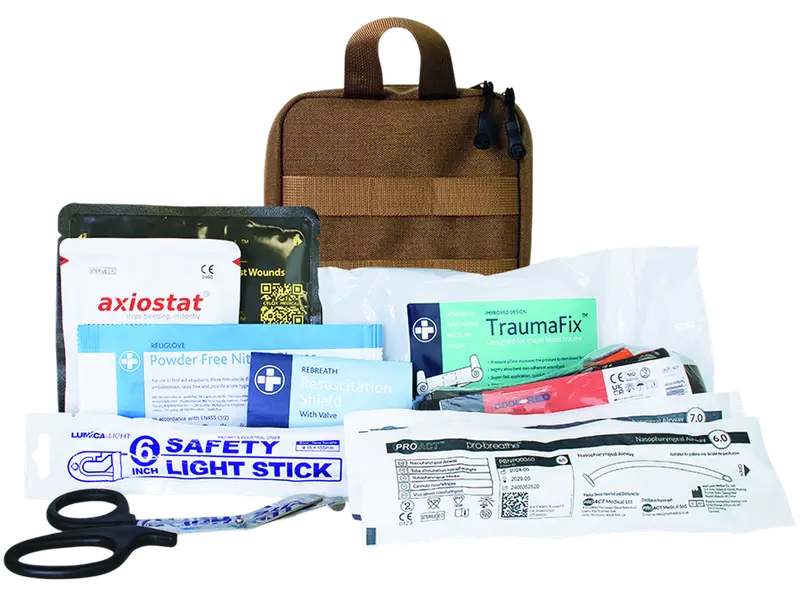
Axiostat® Z-Fold Gauze – 7.6cm x 300cm
Chest Seal (Contains 2 Chest Seals)
TraumaFix Dressing Sterile Including Pressure Pad 10cm x 18cm
CODE RED Emergency Tourniquet
Rebreath Mouth to Mouth Resuscitation Device with Valve
Religlove Nitrile Examination Gloves Large (Pair)
6″ Military Grade High Intensity Cyalume Lightstick White
PRO-Breathe Nasopharyngeal Airway, Size 6
PRO-Breathe Nasopharyngeal Airway, Size 7
Universal shears large 7.6″
1
1
1
1
1
1
1
1
1
1
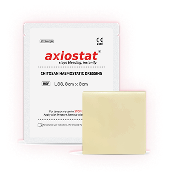
Axiostat® Vascular Patch
V35
V55
3.5cm x 3.5cm
5cm x 5cm
Box of 15
Box of 10
Axiostat® Rolled Gauze
Axiostat® Z-Fold
Axiostat® Z-Fold
Axiostat® Patch
Axiostat® Patch
Axiostat® 4-Ply Gauze
Axiostat® Single Ply Gauze
Axiostat® Rolled Gauze
6510-72-057-0462
6510-72-057-0460
6510-72-057-2313
6510-72-057-0464
–
6510-72-057-2350
6510-72-057-0461
–
L150
MIL300
MIL150
L88 / MIL88
M85
L2020
L1010 / MIL1010
L100
7.6cm x 150cm
7.6cm x 300cm
7.6cm x 150cm
8cm x 8cm
8cm x 5cm
20cm x 20cm
10cm x 10cm
7.6cm x 100cm
Individual
Individual
Individual
Box of 10
Box of 10
Box of 10
Box of 10
Individual


For Femoral and Radial Access Closures

For Femoral and Radial Access Closures